HVAC Duct Sizing Guide: How to Size Ductwork the Right Way
Ductwork is the circulatory system of a forced air HVAC system. Get the sizing right and your system delivers comfortable, efficient heating and cooling to every room. Get it wrong and you face pressure problems, comfort complaints, noise, and higher energy bills — even with the most expensive equipment available.
Proper duct sizing is one of the most overlooked aspects of HVAC installation. Many contractors size ductwork by experience or by eyeballing rather than following the industry-standard methodology, resulting in systems that never perform as designed.
Why Duct Sizing Matters
Every room in your home has a specific heating and cooling load — the amount of BTUs per hour required to maintain comfort in that space. The duct serving that room must deliver the correct airflow (measured in cubic feet per minute, or CFM) to meet that load.
Ducts that are too small:
- Cannot deliver adequate airflow to the room
- Create high velocity that causes noise at registers and grilles
- Increase system static pressure, reducing total airflow and equipment efficiency
- Can cause the blower motor to overwork, shortening its life
Ducts that are too large:
- Move air at low velocity, reducing throw and distribution effectiveness
- Increase material cost unnecessarily
- Can cause comfort issues in rooms with too much or too little airflow
- May cause condensation problems on cool surfaces in cooling season
The Right Starting Point: Manual J Load Calculation
Before sizing any duct, you must know the heating and cooling load for each room. This comes from a Manual J load calculation — ACCA’s industry-standard method for determining residential heating and cooling loads.
Manual J accounts for:
- Room dimensions (length, width, ceiling height)
- Insulation values in walls, ceiling, and floor
- Window type, size, orientation, and shading
- Air infiltration rate
- Internal gains (people, lighting, equipment)
- Geographic location and design temperatures
Many contractors skip Manual J and simply match the new equipment to whatever the old system had. This perpetuates any existing sizing errors and ignores improvements you may have made to insulation or windows since the last system was installed.
Insist on a Manual J load calculation from any contractor quoting whole-system replacement or new duct design. It is a standard deliverable and any ACCA-member contractor should provide it.
Manual D: Duct Sizing Methodology
Once you have room-by-room CFM requirements from Manual J, you can size the ductwork using ACCA’s Manual D methodology.
Manual D calculates:
- The available static pressure the blower can generate
- How that static pressure budget is distributed across the duct system
- The required duct diameter or dimensions for each supply and return run
- The friction rate allowed per 100 feet of equivalent duct length
Key Concepts in Manual D
Available Static Pressure (ASP): The pressure the blower generates, minus the pressure drop across the filter, coil, and air handler. The remaining pressure is available for the duct system. If your ASP is consumed before reaching the farthest rooms, those rooms will be underserved.
Effective Length: The total equivalent length of a duct run including all fittings. Elbows, transitions, and fittings create pressure drops equivalent to several feet of straight duct. A 10-foot duct run with two 90-degree elbows might have an effective length of 40 feet — a significant difference.
Friction Rate: The pressure drop per 100 feet of equivalent duct length that the system can afford. A tighter duct system (more fittings, longer runs) requires a lower friction rate, which means larger ducts.
Design Tool
Manual D calculations are typically performed with dedicated HVAC design software. Widely used programs include:
- Elite RHVAC: Full-featured HVAC load and duct calculation software
- Wrightsoft Right-Suite Universal: Comprehensive residential HVAC design
- ACCA’s QwickLoad: Simplified load and duct calculation
For homeowners, these tools are complex and expensive. The primary value in understanding Manual D is knowing what to ask your contractor and recognizing whether their approach is rigorous.
Common Duct Sizing Mistakes
Undersized Return Ducts
Return ducts are consistently undersized in residential installations. Contractors often install one or two large central returns when multiple returns — or even room-by-room returns — would be needed for proper pressure balance.
An undersized return creates negative pressure in the air handler, pulling air from unconditioned spaces (attics, crawlspaces) through gaps in the building envelope. This introduces moisture, dust, and unconditioned air directly into your system.
Signs of inadequate return airflow:
- Rooms with closed doors that feel stuffy or pressurized
- Doors that are hard to close or swing open/closed on their own
- Higher-than-expected heating/cooling bills despite new equipment
Oversizing Without Proper Static Pressure Analysis
Installing a larger blower motor or higher-capacity equipment without recalculating duct sizing creates excess static pressure. The system fights the ductwork — noise, wear, and inefficiency result.
Ignoring Existing Duct Conditions
In retrofit installations, contractors often reuse existing ductwork. This is not inherently wrong, but the existing ductwork must be evaluated for leakage, insulation, and sizing relative to the new equipment before deciding to reuse it.
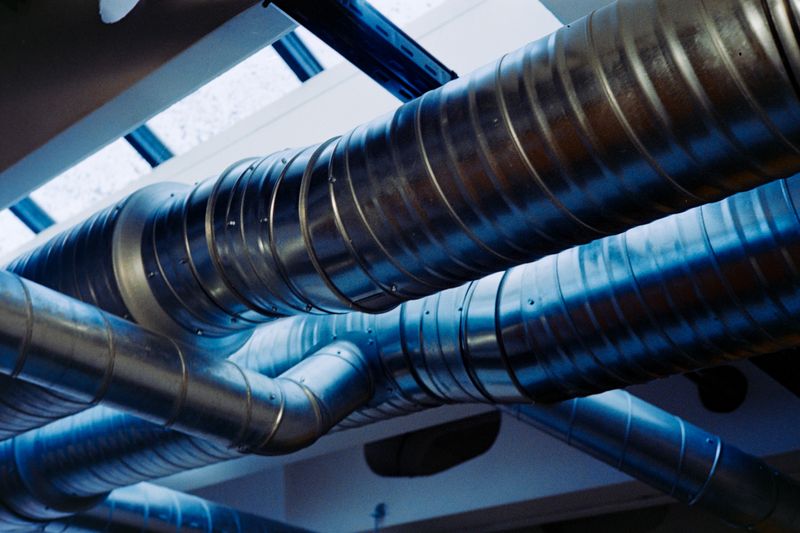
Flexible Duct Abuse
Flexible duct (flex duct) is widely used for its cost and ease of installation. When properly installed — fully extended, not kinked or compressed — flex duct performs acceptably. When compressed, kinked, or installed with excess length, flex duct creates enormous pressure drops.
A compressed flex duct that reduces diameter by 25% can increase pressure drop by 50%. Kinked flex can nearly eliminate airflow in a run.
Duct Sizing Reference
These are approximate duct sizes for common CFM requirements in supply runs:
| CFM Required | Round Duct Diameter | Rectangular (approx.) |
|---|---|---|
| 50 CFM | 4” | 4” × 6” |
| 100 CFM | 6” | 6” × 8” |
| 150 CFM | 7” | 6” × 10” |
| 200 CFM | 8” | 8” × 10” |
| 300 CFM | 9”–10” | 10” × 12” |
| 400 CFM | 10”–12” | 12” × 14” |
These are starting points only — actual required sizes depend on the friction rate available in your system design.
Getting a Duct Design Done Right
If you are building a new home or planning a complete duct system replacement:
- Hire an ACCA-member contractor who is trained in Manual J and Manual D procedures.
- Request the calculations as part of the project deliverables. A good contractor should provide room-by-room CFM targets and duct sizing summaries.
- Verify installation quality. After installation, ask for a total external static pressure measurement to confirm the installed system matches design parameters.
- Consider third-party commissioning for complex or large homes — an independent HVAC commissioning specialist can verify the system meets design specifications.
For homeowners experiencing chronic comfort problems — rooms that never cool or heat adequately, excessive noise from registers, or high energy bills despite new equipment — duct sizing and static pressure testing should be the first diagnostic step. Many persistent comfort problems trace directly to ductwork design rather than equipment quality.
For a DIY duct leakage check tool, the Klein Tools Anemometer can measure airflow velocity at supply registers to help identify registers receiving significantly less airflow than others.

Mike Hartley
HVAC Expert & Founder of ThermalTechPro